- General Information
- How to Install Theme
- Theme Activation
- How to Update Theme
- Import Demo Content
- Front Page Setup
- WPDaddy Header & Footer Builder
- How to Edit Header
- How to Edit Footer
- Select Area for Header & Footer
- How to Assign Header & Footer
- How to Enable Sticky Menu
- Mega Menu
- Page Options
- Page Title Section
- Custom Sidebars
- Page Preloader
- Navigator in Elementor
- One Page Website
- Custom Post Types
- Custom Permalinks
- Custom 404 Page
- Theme Optimization
- Translation Support
- Mobile Issues
- Support Desk
- Changelog
10.Select Area for Header & Footer
This guide is only for those users who did not import the demo content of the theme.
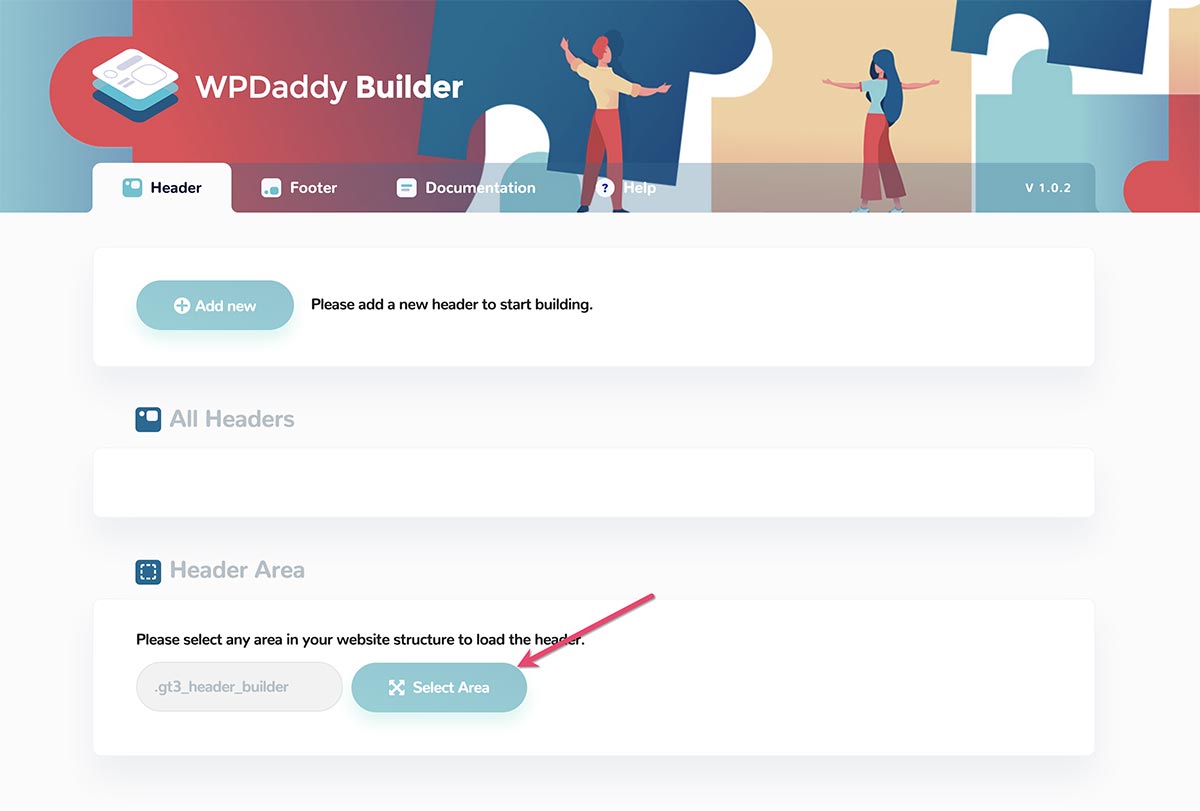
The first thing that you have to do is to select an area on your website where you want to load your future header or header. Please do the following steps.
1. Please open WPDaddy Builder Pro section in your WordPress dashboard. You have to click the “Select Area” button. You will be redirected to the home page of your website.

2. Click “select area” icon, and move your cursor to the place where you want your header to load. The website structure will be highlighted with the names of the elements in the website structure.

Once it’s selected click “Save Settings” and return back using the “Back” button. Now, this will be your default area to load a new header.
The same procedure is required for the footer area.