Gallery Page Setup
Setup Using GT3 Builder
To create a gallery page on your site, please follow the steps below:
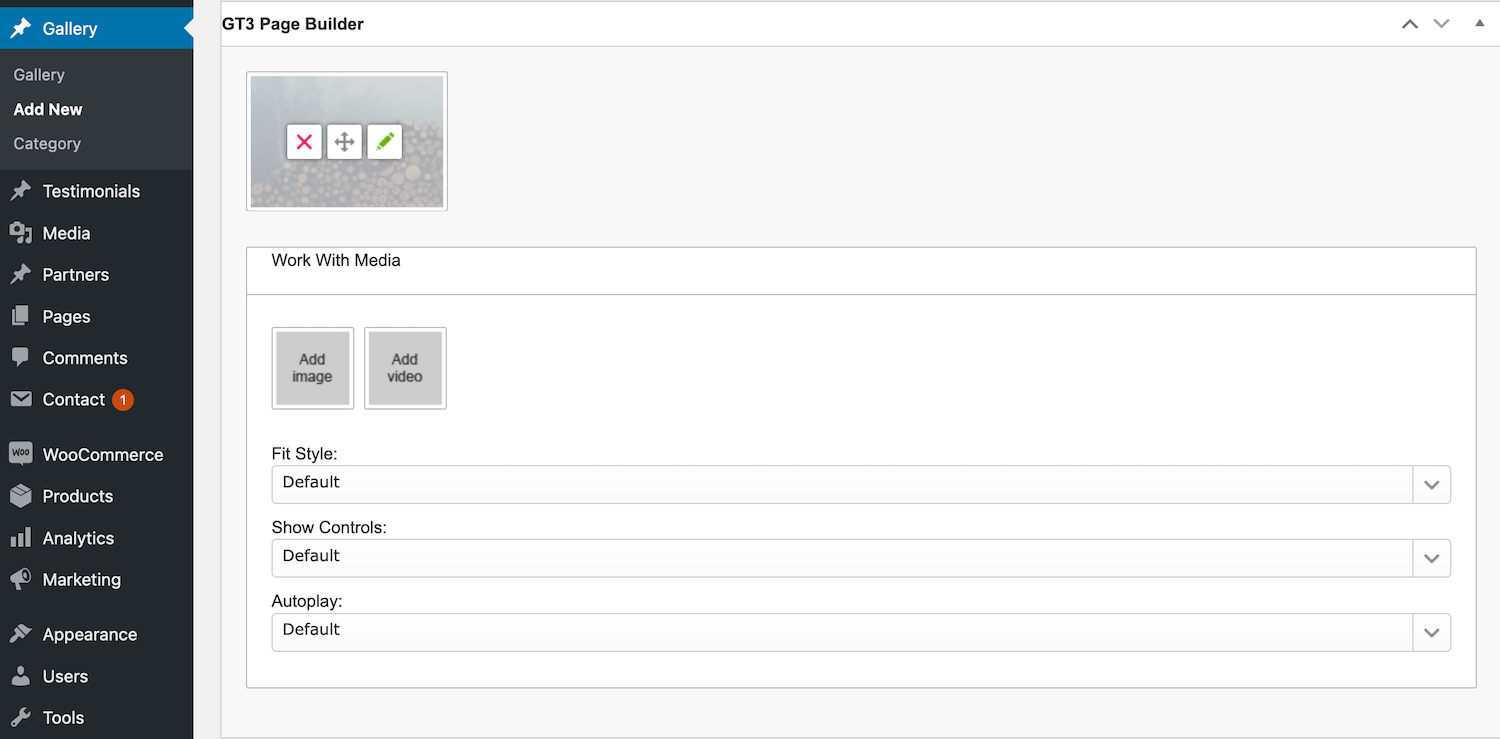
1. Go to Gallery section in the main WordPress menu and click Add New;
2. There is section called “Work with media” in GT3 Page Builder;
3. Simply click any image that you want to add to the gallery;
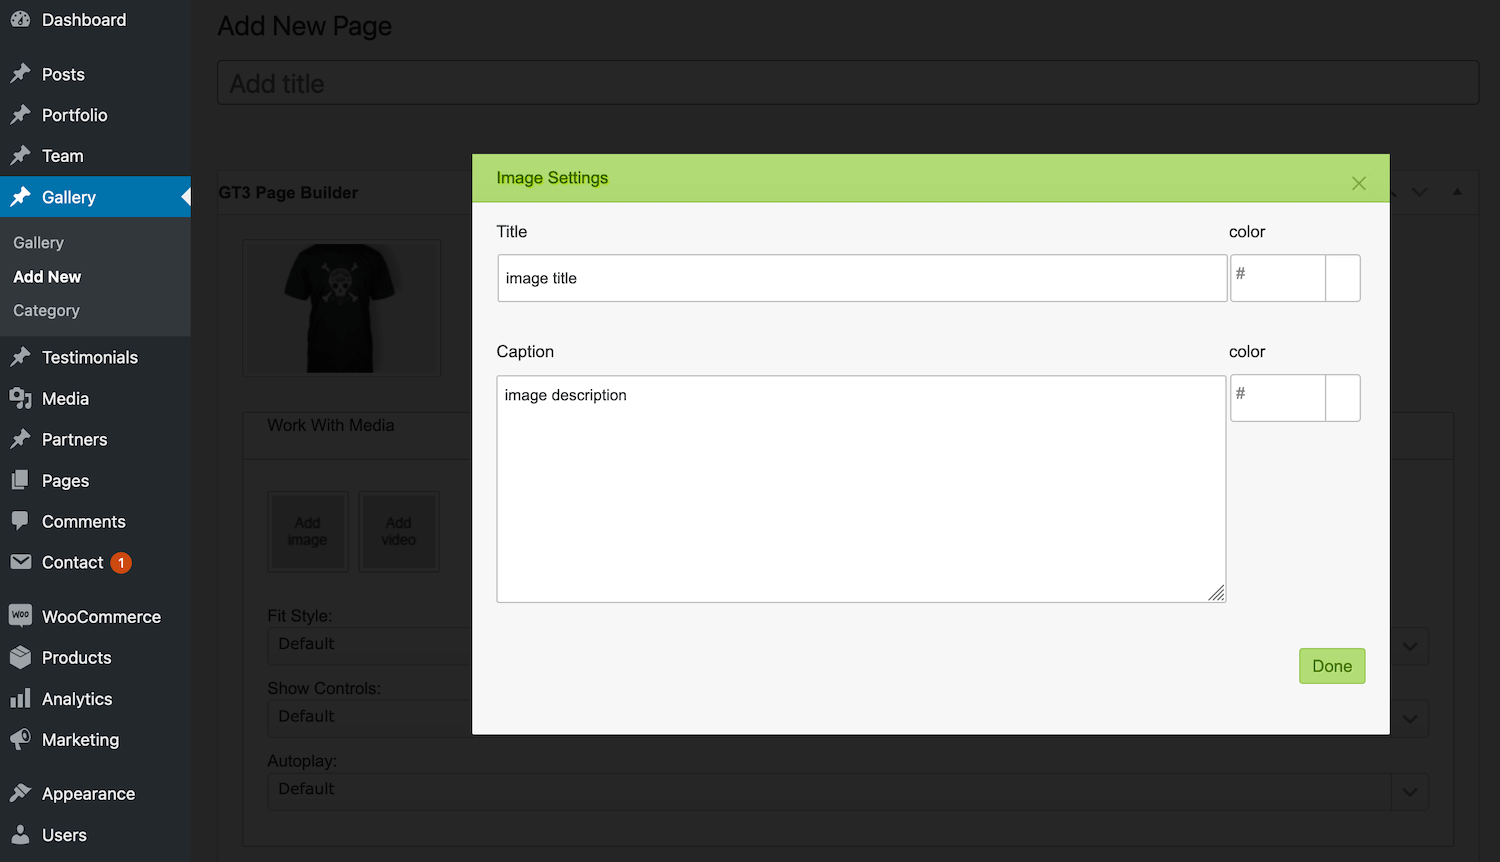
4. When the image is added to the page builder, hover it and click edit;

5. Right there you can add Title and Description to the image, they will appear in the lightbox;

6. When the gallery is ready, it’s time to create a gallery page, please go to the pages and add a new page;
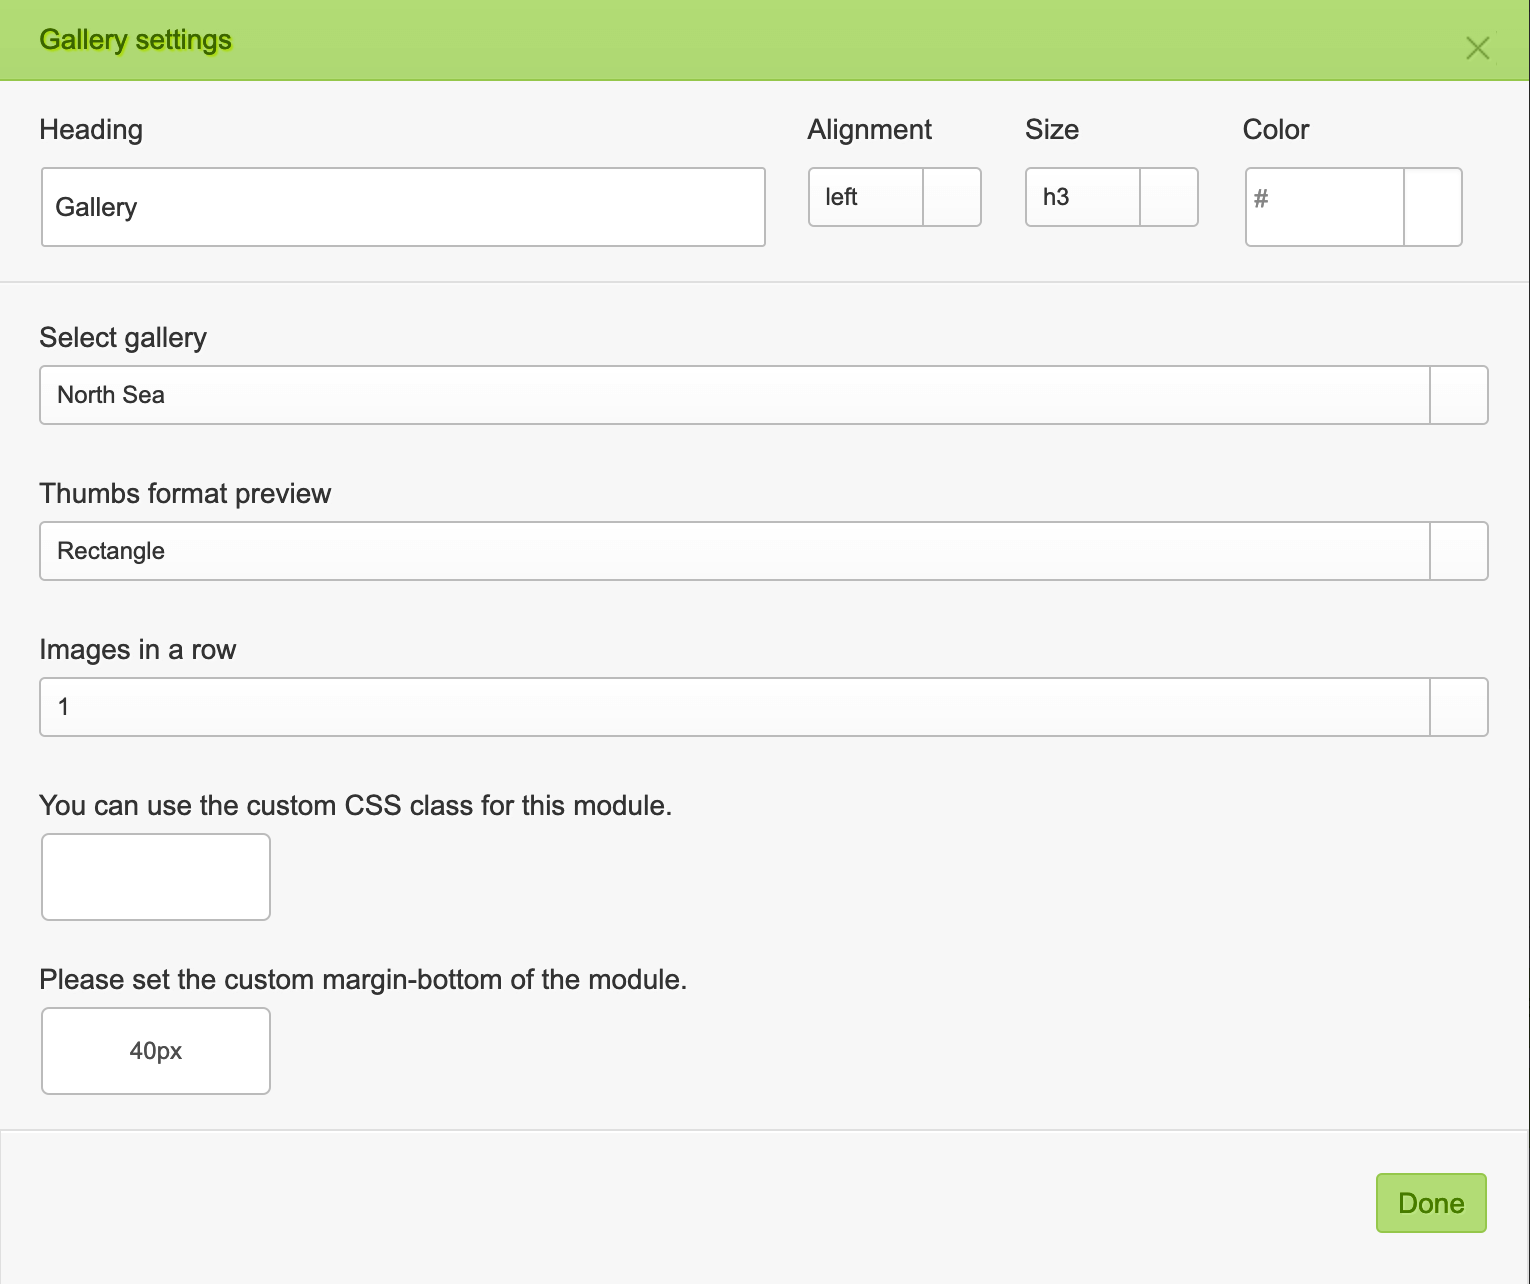
7. Go to the GT3 Page Builder and add Gallery Module;

8. Check the module settings, just click edit. Right there you can select the available gallery from the drop down menu, set the number of images in a row, etc;

9. Once it is done, save the changes, and preview the page.
Gallery Setup Using a Template
1. Go to Pages section in the main WordPress menu and click Add New;
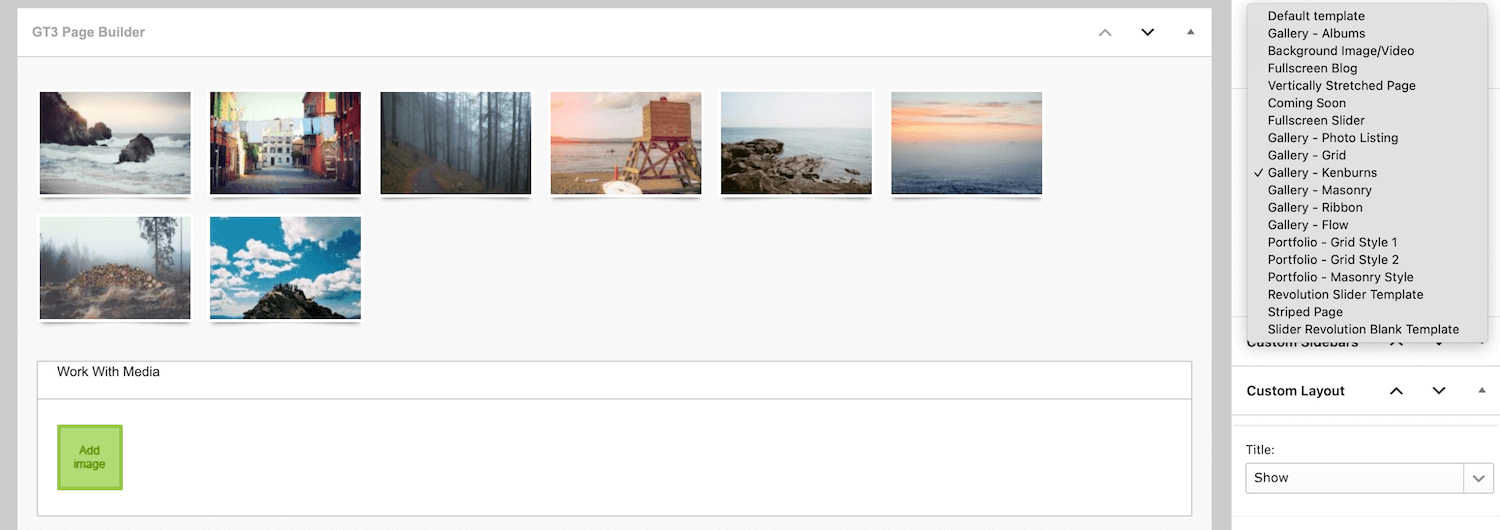
2. On the right side area in Page Attributes section select the one of the Gallery templates: Gallery-Grid, Gallery-Masonry, Gallery-Kenburns, etc. Don’t forget to publish the page.
3. A specific Gallery uploader will be available on the page. Upload your media collection and select the images for the Gallery. That’s all.

